Reassembly and Restart of a Thermoplastic Injection Mold
The difference between a planned restart and an impromptu one is measured in days of machine downtime and weeks of customer delays. From the start of the shutdown to the approval of the first parts, here is the procedure that makes all the difference...
The Strategic Challenge: Your Ability to Bounce Back Quickly
In the thermoplastics industry, improvement efforts often focus on material costs, machine performance, or reducing scrap. These issues are essential, but they should not overshadow a factor that directly impacts your productivity and profitability: changeover times.
Every mold change, machine adjustment, tooling modification, or restart phase ties up resources, takes equipment offline, and results in downtime. In an environment where production runs are shorter, product varieties are more numerous, and customer deadlines are increasingly tight, these transitions have become a strategic challenge.
Production stoppages, meanwhile, are on the rise. Reduced inventory, pull-based production, consolidated campaigns, extended product lifecycles, mid-year budget adjustments, and delays in a customer launch: these are all perfectly legitimate reasons to suspend a product line . But the value of your tooling at EDELTAMP does not go on hold. For the project manager, this mold remains a fixed asset on your balance sheet, and when the order comes back, your ability to respond quickly depends directly on how it was decommissioned, protected, and documented.
That is precisely where the difference lies between a partner who provides the tools and a mere contractor.
What Poses a Threat to Idle Equipment
A mold that is no longer rotating is subject to slow, invisible, and irreversible processes:
• corrosion of the mold cavities, parting line, and ejector pads due to residual moisture and humidity fluctuations at the storage location;
• scale buildup and oxidation in control circuits, where visual inspection is not possible;
• degradation of the polymer left in the hot runner, a common cause of black spots when the machine is restarted;
• seizure of moving parts, drawers, cores, and guide columns due to a lack of active lubrication.
In addition to these physical risks, there is a documentation risk that is often even more costly: the loss of the mold file and the know-how required for adjustment. The part drawing index changes, the material specification is revised by the supplier, and the team changes. Without rigorous traceability, a simple re-run turns into a complete re-tuning.
Putting the business on hold: the first step toward a fresh start
Properly preparing to shut down your injection molding or extrusion line requires advance planning. It’s never a last-minute task carried out on the very day the machine needs to be cleared for another product.
To maintain your system in good working order, a comprehensive approach allows you to make better use of your machinery and improve efficiency: tools, the press, peripheral equipment, and documentation are treated as a cohesive whole, rather than as independent components.
The stakes are real. An improperly prepared shutdown exposes your machines to restarting problems, resulting in increased scrap due to black specks and carbon deposits in the system. You end up paying twice for this scrap: in material costs and in press hours spent eliminating a defect that originated several months earlier.
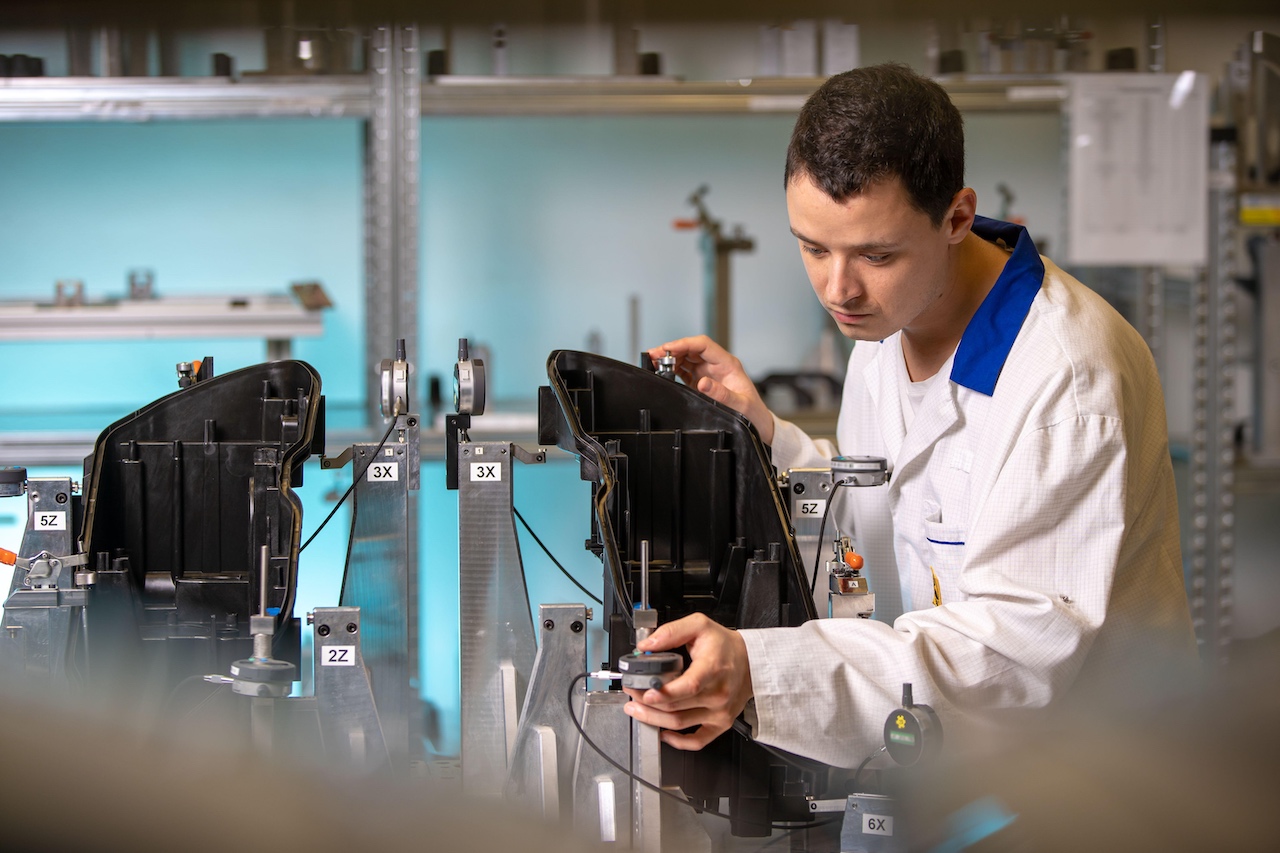
The teams atEDELTAMP have the expertise to handle this phase. The assembly and adjustment technician checks the condition of the mold after production. If necessary, the mold will be sent to the mold shop for maintenance before being stored. The water circuits are flushed, and a silicone film is applied to the mold surfaces to prevent corrosion.
This protocol is accompanied by a decommissioning file: an inventory of equipment, a cycle counter, a maintenance record, the most recent approved adjustment record, a monitoring plan, and archived reference parts. It is this file that guarantees you, years later, a smooth restart without any uncertainties.
This service is not just an administrative formality. It is a value-added service that protects an asset you own and has a direct impact on how quickly you can resume production.
Cleaning, degreasing, and preliminary inspection
Reassembly begins off the press, in the tooling shop. This is the most cost-effective decision in the entire process: an operation performed on an assembly bench takes a few hours of a mold maker’s time, while the same operation on a press that is already clamped in place results in a full day of machine downtime.
Removal of protective coatings. Completely remove the silicone film, wax, or anti-corrosion product applied during storage from all molding surfaces and contact surfaces.
Cleaning molds. Use a suitable solvent that does not damage the steel or the surface treatments. A textured, polished, or coated mold should not be cleaned with the same product as a standard mold, and an inappropriate choice will immediately be evident in the appearance of the parts.
Checking the vents. Ensure that the vents are not blocked by residue or oxidation. A clogged vent causes compression burns, incomplete combustion, and pronounced weld lines—defects that are often mistakenly attributed to injection parameters.
General condition of the tooling. Visual inspection of the cavities, parting line, and mechanisms, compared to the condition assessment conducted when the tool was placed in storage. For parts with critical features, our mold makers perform a dimensional inspection of the cavities before any assembly takes place.
Lubrication and Mechanical Control
Lubrication of moving parts. Lubrication of guide columns, bushings, slides, and ejection pins using products selected specifically for your application—a critical factor in food-contact, medical, or cleanroom environments.
Ejection check. Manually or mechanically operate the ejector plate to confirm that there are no sticking points or seizure. Detecting resistance on a test bench prevents ejectors from breaking during the first automatic cycle.
Inspect fasteners. Tighten screws and clamps: temperature fluctuations during production and prolonged storage can cause looseness.
Checking the Control Circuits and the Hot Runner
Leak test. Pressurizing the water system to detect any internal leaks caused by scale or corrosion. An internal leak discovered during production results in a contaminated part and an emergency shutdown of the press.
Clearing blockages in the channels. Checking flow rate and the inlet/outlet temperature difference. A scaled-up or partially blocked circuit causes localized overheating and unstable cycle times, which directly impact your unit cost.
Hot channels. Measure the insulation resistance of the electrical resistors using a megohmmeter before applying power, to prevent short circuits caused by ambient moisture, followed by an inspection of the thermocouples and their wiring.
Reinstallation in the press, connection, and heating
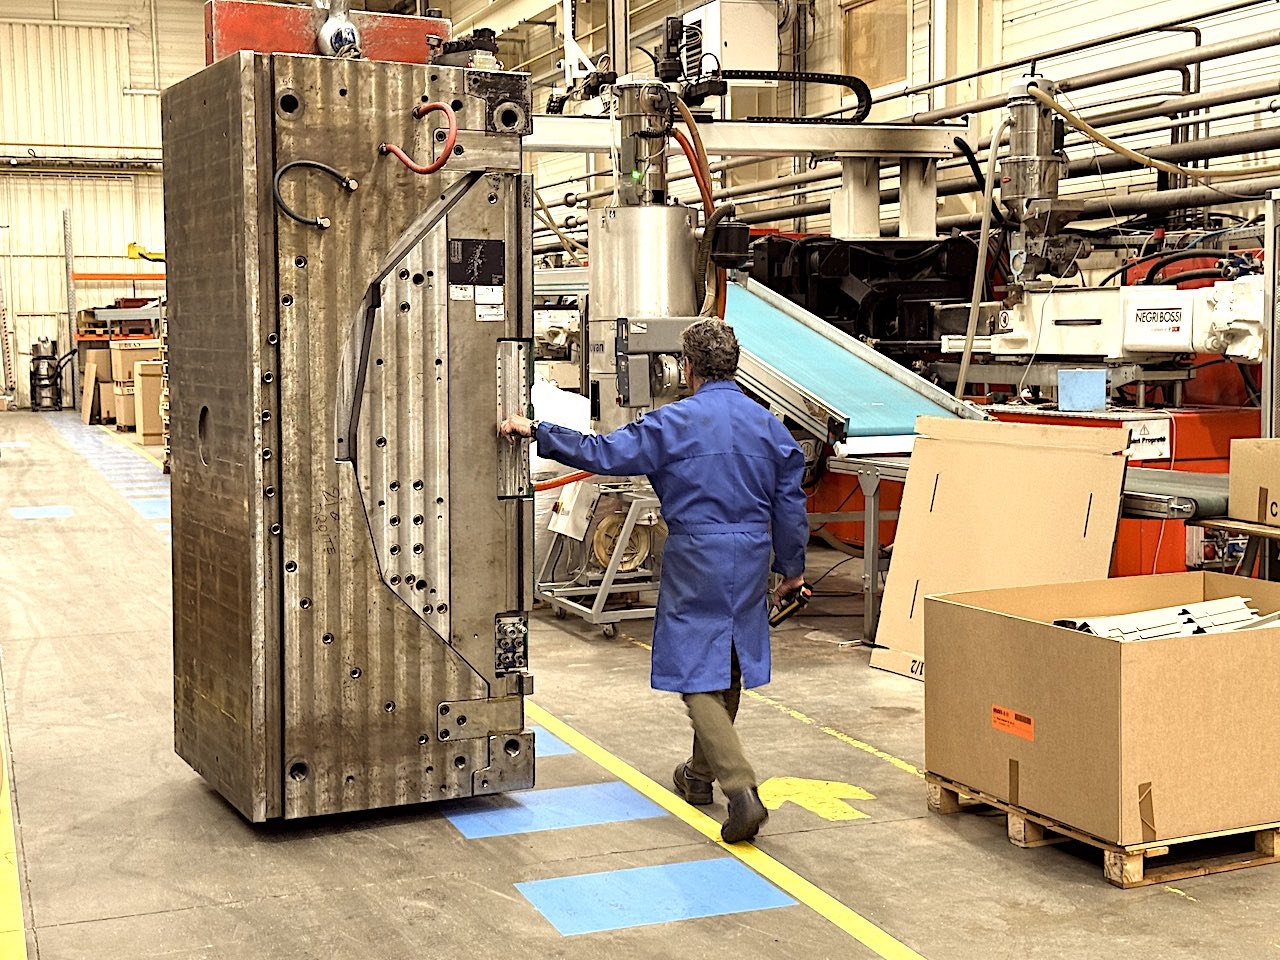
Reinstallation. Removing the mold from storage and reinstalling it in the press are treated as a separate operation: verifying mold/press compatibility (required tonnage based on projected surface area, column spacing, minimum and maximum thickness, opening and ejection strokes, dosing capacity), scheduling of the press slot, handling and slinging equipment suited to the actual weight of the tooling, removal of transport shims and locks, followed by positioning and centering on the platen. From 60 to 1,600 metric tons, our teams tailor staffing, equipment, and procedures to the specific press class.
Control circuits. Connect the water or oil circuits and open the valves, checking the flow direction and the connections for each loop. Even a single crossed hose is enough to throw off the thermal balance of a mold cavity.
Mold preheating. Gradually bringing the mold up to its set temperature before injecting the first shot of molten material to prevent thermal shock and filling defects. The temperature ramp is carefully controlled, which also protects the heating elements.
Heating of the sleeve. Activation of the press's heating zones according to the temperature profile for the grade being used, after confirming the availability of the material and that it is dry.
Assembly, clamping, and securing the closure
Clamping. Clamp the mold onto the platen according to the recommended torques; use mechanical or hydraulic clamps or magnetic platens, depending on the equipment.
Connections. Connection of mechanical or hydraulic ejection circuits and electrical connections: hot runners, controlled cores, limit switches, sensors.
Slow closing. The first closing and opening cycles are performed in manual mode at reduced speed to verify the limit switches, the parallelism of the plates, and the operation of the mechanisms.
Low-pressure adjustment. The press’s low-pressure safety feature is set to maximum sensitivity to stop operation in the event of a foreign object or ejection failure. This quick step provides long-term protection for your tooling investment.
Purging and Injecting the First Parts
Cleaning the barrel. Removing the old material using a suitable cleaning compound, applied to both the barrel and the hot runner, to remove any carbonized residue before the first casting.
Initial runs. We start with the first cycles at reduced speed, analyze the first mold, and then methodically adjust the parameters—pressure, speed, dosage, and compaction. Our setup technicians rebuild the process based on validated parameters, rather than simply copying from an old data sheet: machine data cannot be transferred from one press to another; only process data can be.
We also factor thermal stabilization into the schedule. Depending on the weight of the mold, it can take several dozen cycles before the mold reaches thermal equilibrium. Waiting until this equilibrium is reached before assessing quality helps avoid hours of unnecessary adjustments and allows for faster delivery.
Reclassification and Release
The preheating parts are marked and insulated. Next comes formal validation: dimensional, visual, and functional inspections in accordance with your monitoring plan, comparison with archived master parts, and capability studies on the initial batch. If the press, the site, or the material has changed during the downtime, we’ll notify you in advance about the requalification that will be required, so that it can be incorporated into the schedule and not discovered at the very end of the process.
Be Proactive Rather Than Reactive
Restarting a production run requires tooling hours, press hours, purge material, start-up scrap, and time spent on methods and quality control. The difference between a well-prepared restart and an improvised one is measured in days of machine downtime and weeks of customer lead time.
This cost is largely manageable, provided it is addressed early on. That is why we recommend that our clients establish contractual terms for the storage, unpacking, and return of their tools as soon as production stops, and schedule periodic inspections for long-term fixed assets.
At EDELTAMP, takedown and restart are two sides of the same commitment: preserving the value of your equipment and your ability to produce, no matter how much time has passed. A properly shut-down mold is a mold that restarts quickly.
Are you planning to discontinue a product or bring a idle piece of equipment back into service?
Contact our team. Together, we’ll develop a plan for winding down and restarting operations that protects your equipment, your deadlines, and your budget.
Other articles in this category
Keep up to date with EDELTAMP and how we're shaping the future of the plastics industry .